
 Stripe
How to Add Stripe Sales Notifications to Your Website
Add trustworthy Stripe sales notifications to your site, then control their appearance, timing, placement, and customer-facing content.
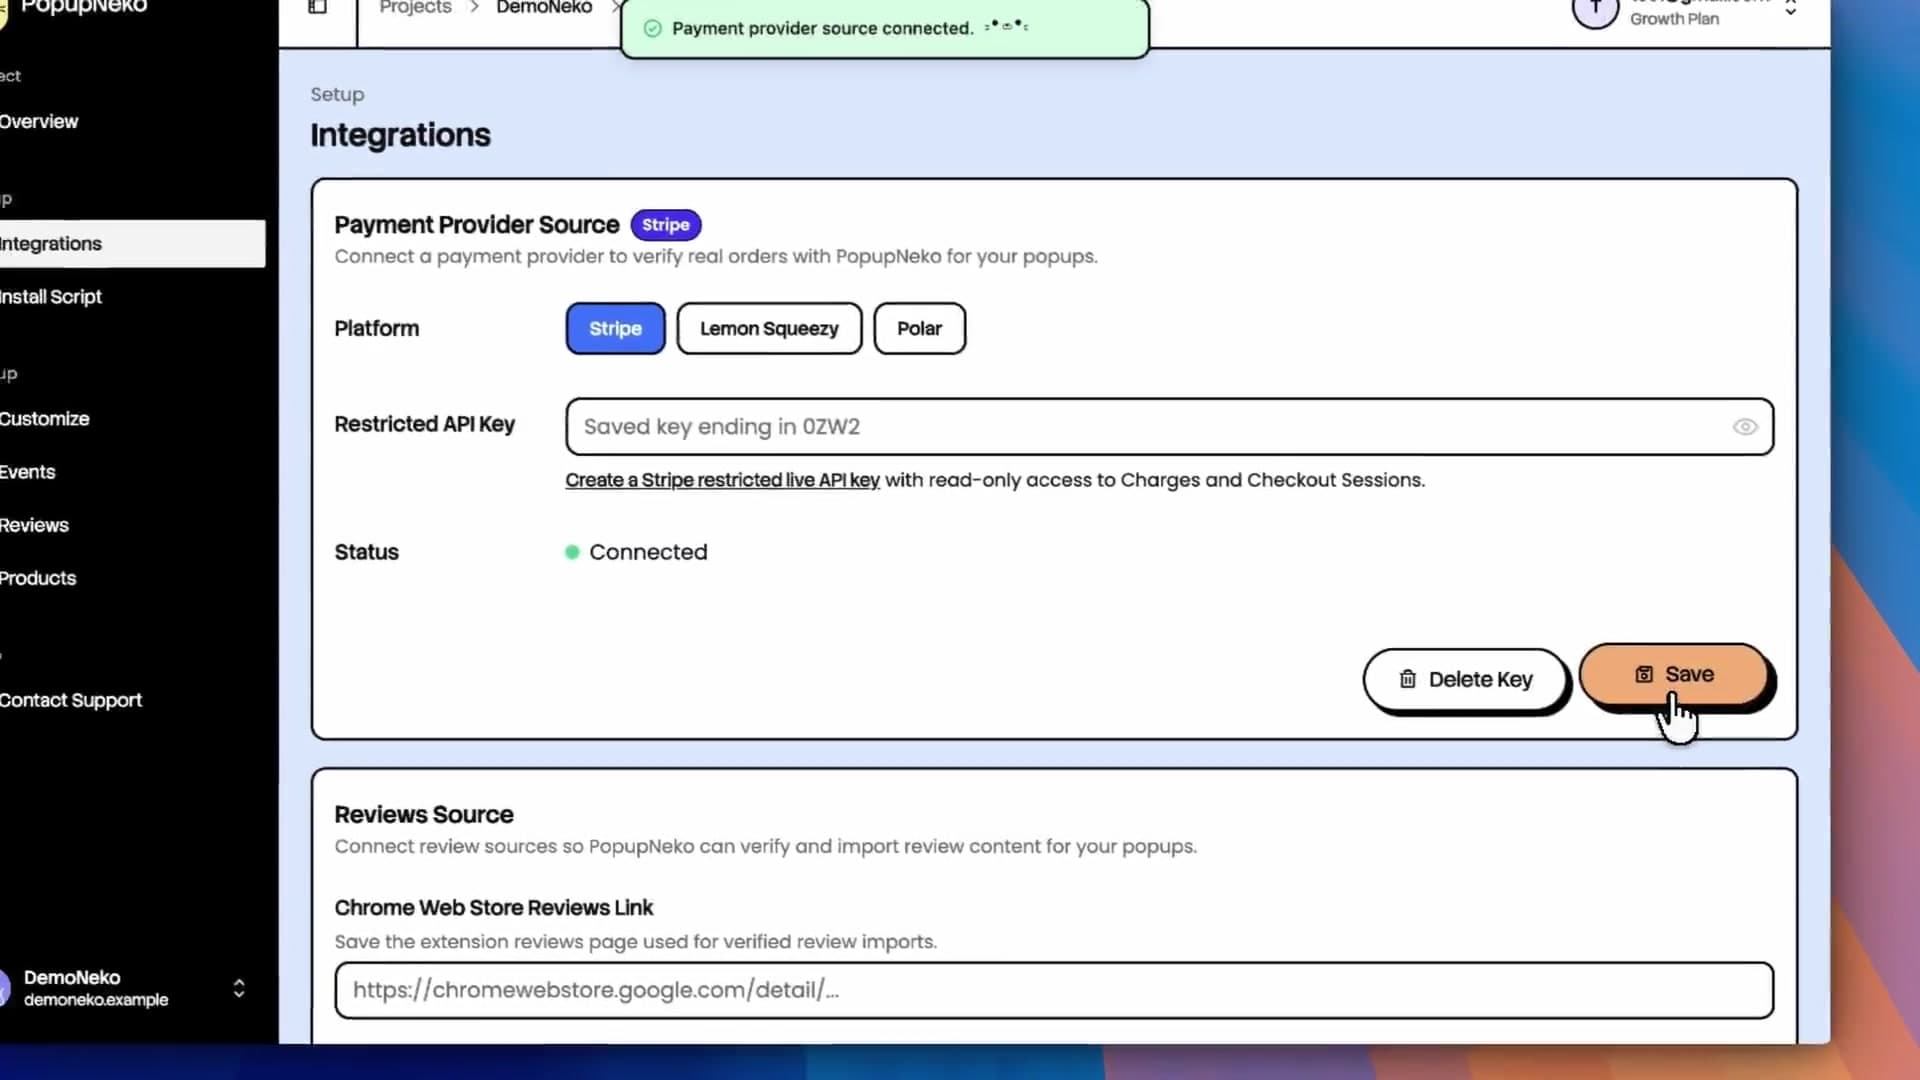
Sales notifications work best when they help a visitor answer a quiet question: “Do people actually buy from this business?” A well-placed notification can show recent customer activity without interrupting the page or making an exaggerated claim.
PopupNeko connects the notification to eligible Stripe activity and gives visitors a way to verify the source. Here is how to move from a Stripe connection to a polished notification experience.
Start with a verified Stripe feed
Connect the Stripe account that accepts payments for the website. The connection uses a restricted live API key with read access to Charges and Checkout Sessions. It cannot charge customers, change subscriptions, or issue refunds.
PopupNeko turns eligible paid Stripe Checkout Sessions into sale events. Direct Charges and recurring subscription renewals are not included, so confirm that your checkout flow uses supported Stripe Checkout activity before spending time on visual customization.
For a deeper explanation of eligibility and privacy, read How to Show Stripe Purchases on Your Website. The Stripe setup guide contains the dashboard steps.
Prepare customer-facing product details
Open the Products page and sync the active products available from Stripe. The imported provider information is the starting point, but the text that makes sense inside a payment dashboard is not always the clearest text for a website visitor.
Review three details for each product:
- Display name: Use the recognizable offer name a buyer sees on your site.
- Product image: Choose an image that stays legible at notification size.
- Product link: Send interested visitors to the relevant product or pricing page.
PopupNeko preserves your display overrides during later product syncs. That lets you keep customer-facing wording stable while still refreshing provider data.
Customize the notification
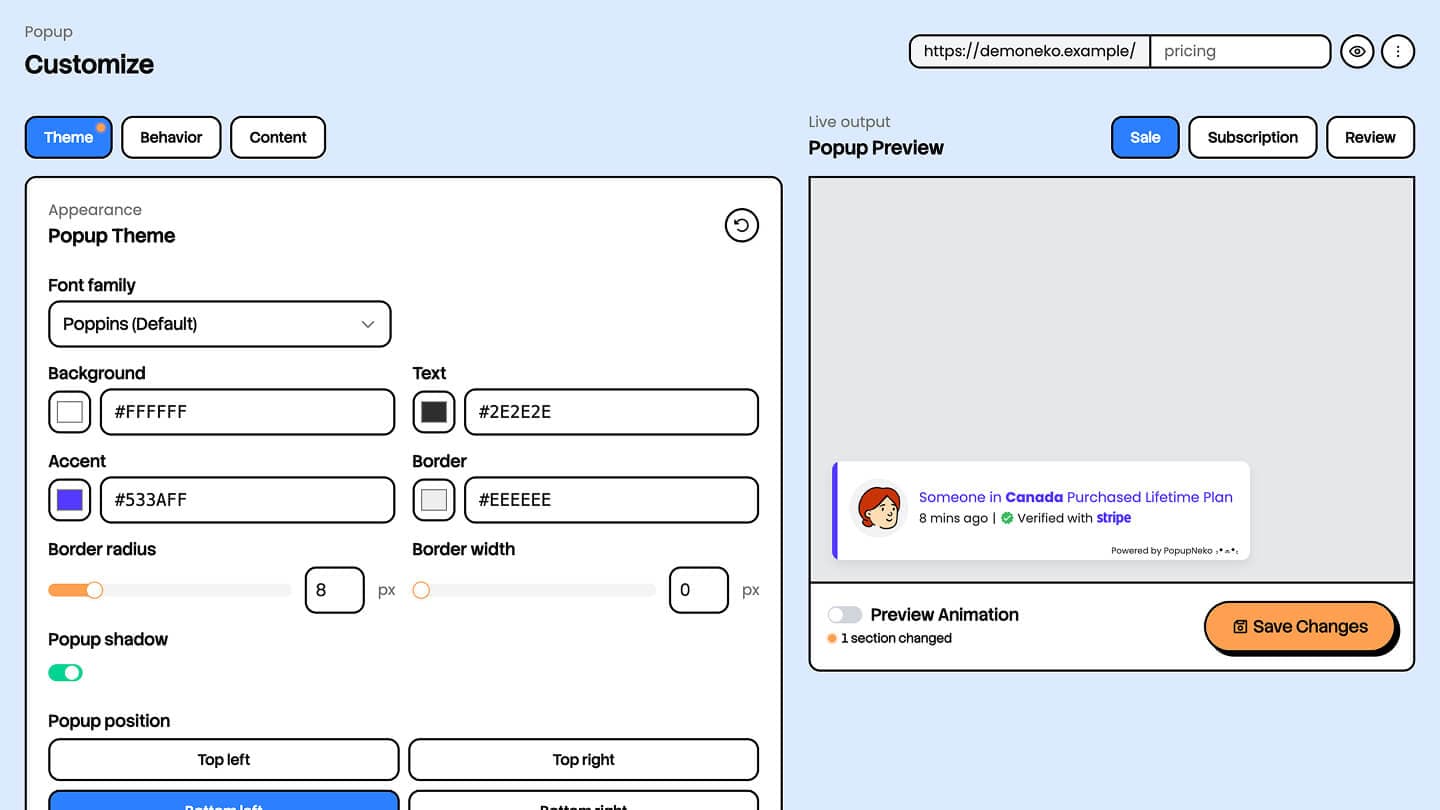
Use Customize to make the notification feel like part of the site instead of a pasted-on widget.
Match the visual hierarchy
Choose colors that remain readable against the popup background and your website. The product or activity should be easy to scan, while the supporting time, location, and source details can remain quieter.
Keep the design recognizable as a notification. Excessive decoration competes with the page content and makes the activity harder to understand.
Choose the right content
Enable only details that help visitors interpret the purchase. Approximate city or country information can make an event feel relevant when the provider supplied it, but the notification should still read naturally when location is unavailable.
Customer names, email addresses, exact addresses, and payment details are never needed for the social proof message and are not sent to the public popup.
Tune timing and frequency
Give visitors enough time to understand the page before the first notification appears. Then leave enough space between notifications that the experience feels informative rather than restless.
Preview several events, including long product names and missing optional details. This catches wrapping and spacing issues that a single ideal example can hide.
Place notifications where they support a decision
The best location depends on the website, but the principle is consistent: show proof near a meaningful buying decision without covering the controls needed to complete it.
Useful candidates include:
- A homepage where a new visitor is deciding whether the business looks established.
- A pricing page where the visitor is comparing plans.
- A product page connected to the items appearing in notifications.
- A campaign landing page that needs additional trust.
Use PopupNeko’s page targeting to include the relevant paths and exclude pages where notifications would be distracting. On mobile, check the chosen corner against sticky navigation, chat controls, cookie notices, and checkout buttons.
Install the script once
Copy the project script from Install Script and add it using the guide for your website platform. The same script can serve the pages allowed by your targeting rules, so you do not need to create a separate Stripe snippet for every page.
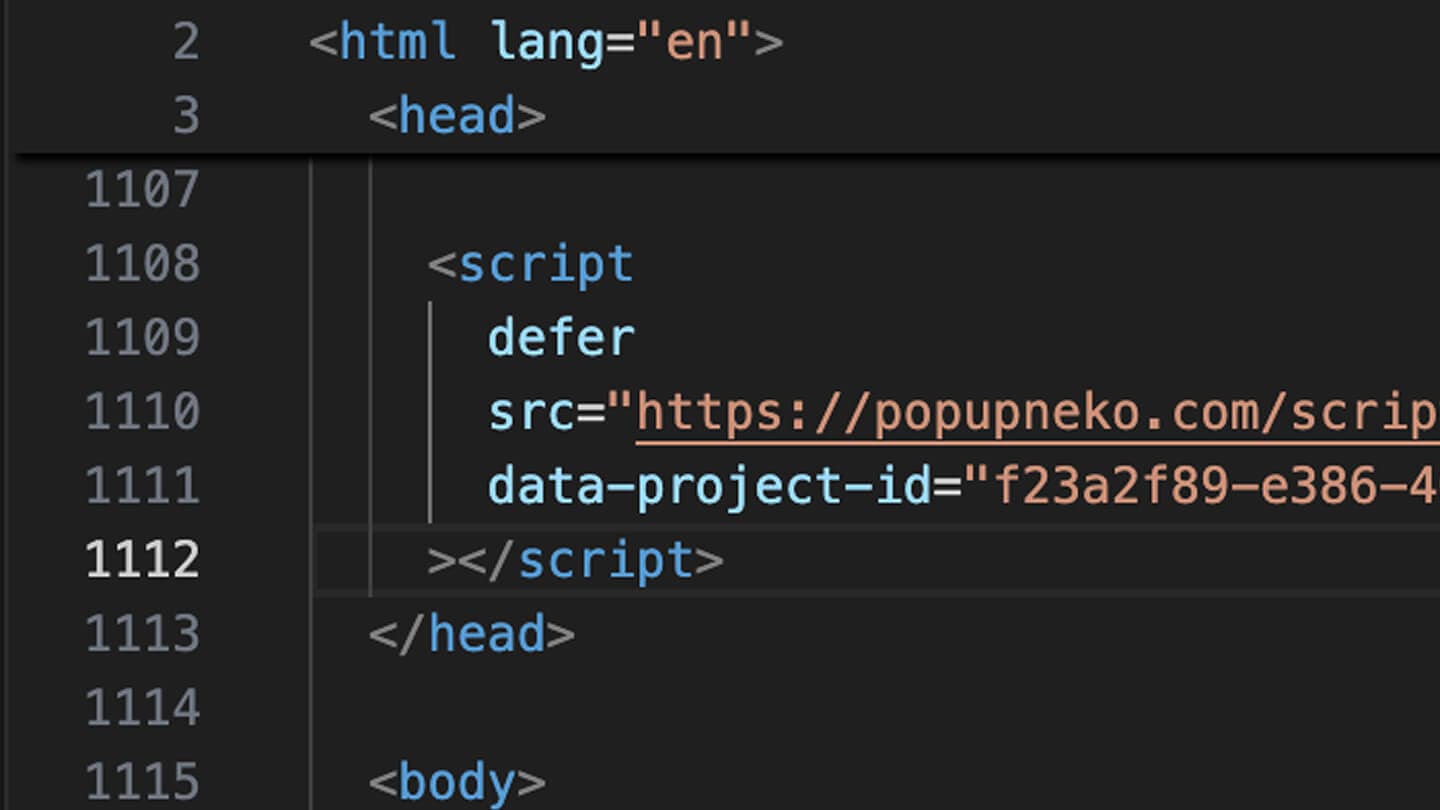
After installation, open the production site in a private browser window and visit an allowed page. If nothing appears, work through the troubleshooting guide in order: access status, script detection, project state, page targeting, enabled event types, and eligible event age.
Keep the proof credible
Do not treat sales notifications as a volume contest. A smaller set of clear, recent, sourced events is more useful than a stream that overwhelms the site.
PopupNeko’s verified-source label and public merchant profile give visitors a path to check where the activity came from. Preserve that context when choosing colors and content. The result should be a calm piece of evidence that supports the page rather than a claim asking visitors to trust it blindly.
Explore the complete Stripe sales notification integration, or start your PopupNeko free trial when you are ready to configure it on your own site.
