
 Stripe
How to Show Stripe Purchases on Your Website
Turn eligible Stripe Checkout purchases into verified social proof on your website without exposing customer or payment details.
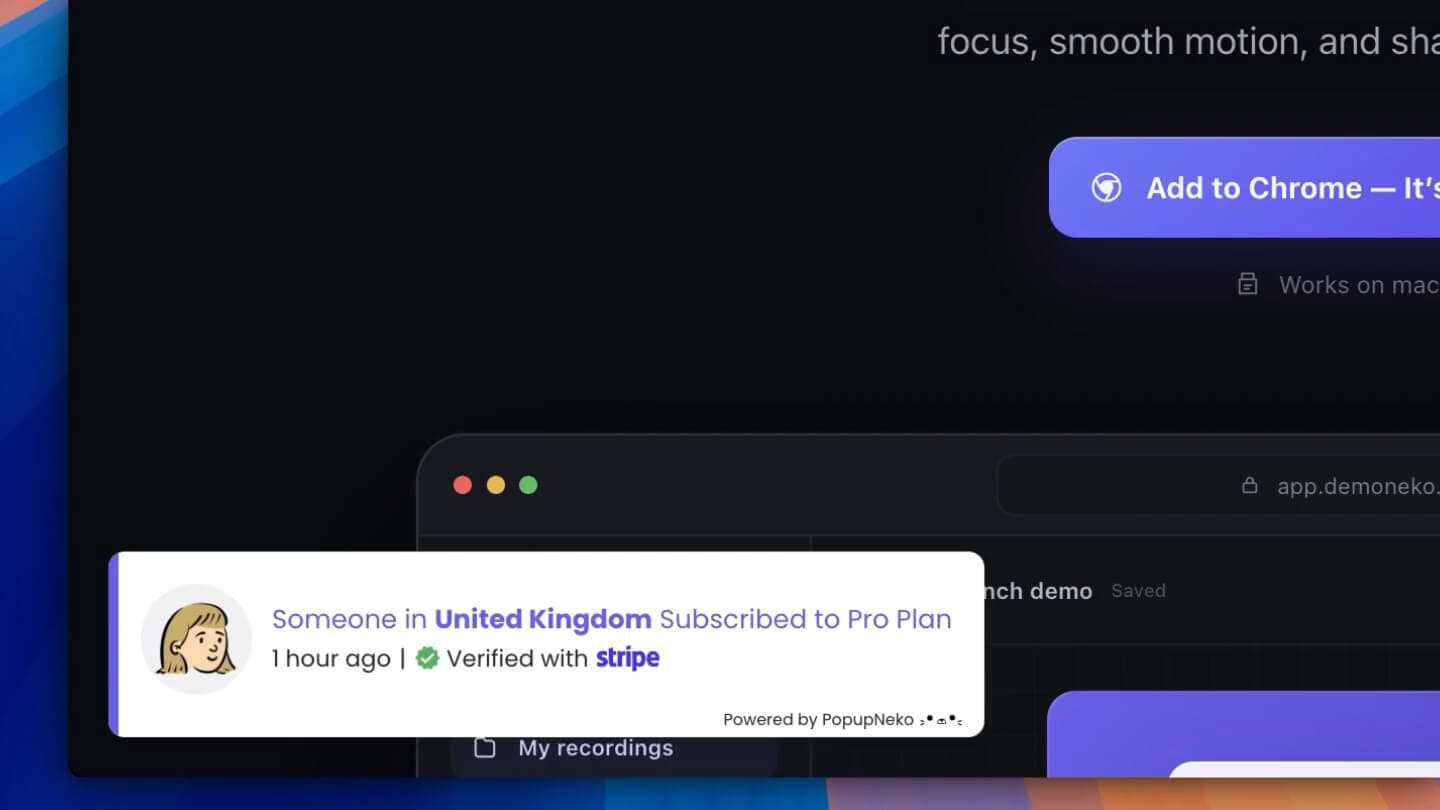
A Stripe dashboard can show that customers are buying, but website visitors cannot see that momentum. Displaying recent purchases as small social proof notifications brings selected activity into the buying journey and gives visitors evidence that the business is active.
The important part is making those notifications credible. PopupNeko retrieves eligible activity from Stripe instead of asking you to type sales manually, then turns the sanitized details into website popups.
What counts as a Stripe purchase?
PopupNeko currently supports paid Stripe Checkout Sessions created in payment mode. A Checkout purchase containing several distinct products can produce one event for each distinct product, so the notification can name what was purchased instead of showing an anonymous payment total.
Not every payment visible in Stripe is eligible. Direct Charges, recurring subscription renewals, and fully refunded one-time purchases are excluded. Stripe Checkout Sessions created in subscription mode are handled as newly started subscription events rather than ordinary purchase events.
This distinction keeps the feed focused on new customer activity. If you are troubleshooting a missing sale, first confirm that it came through Stripe Checkout and fits the event types and age window selected in PopupNeko.
Connect Stripe without exposing your account
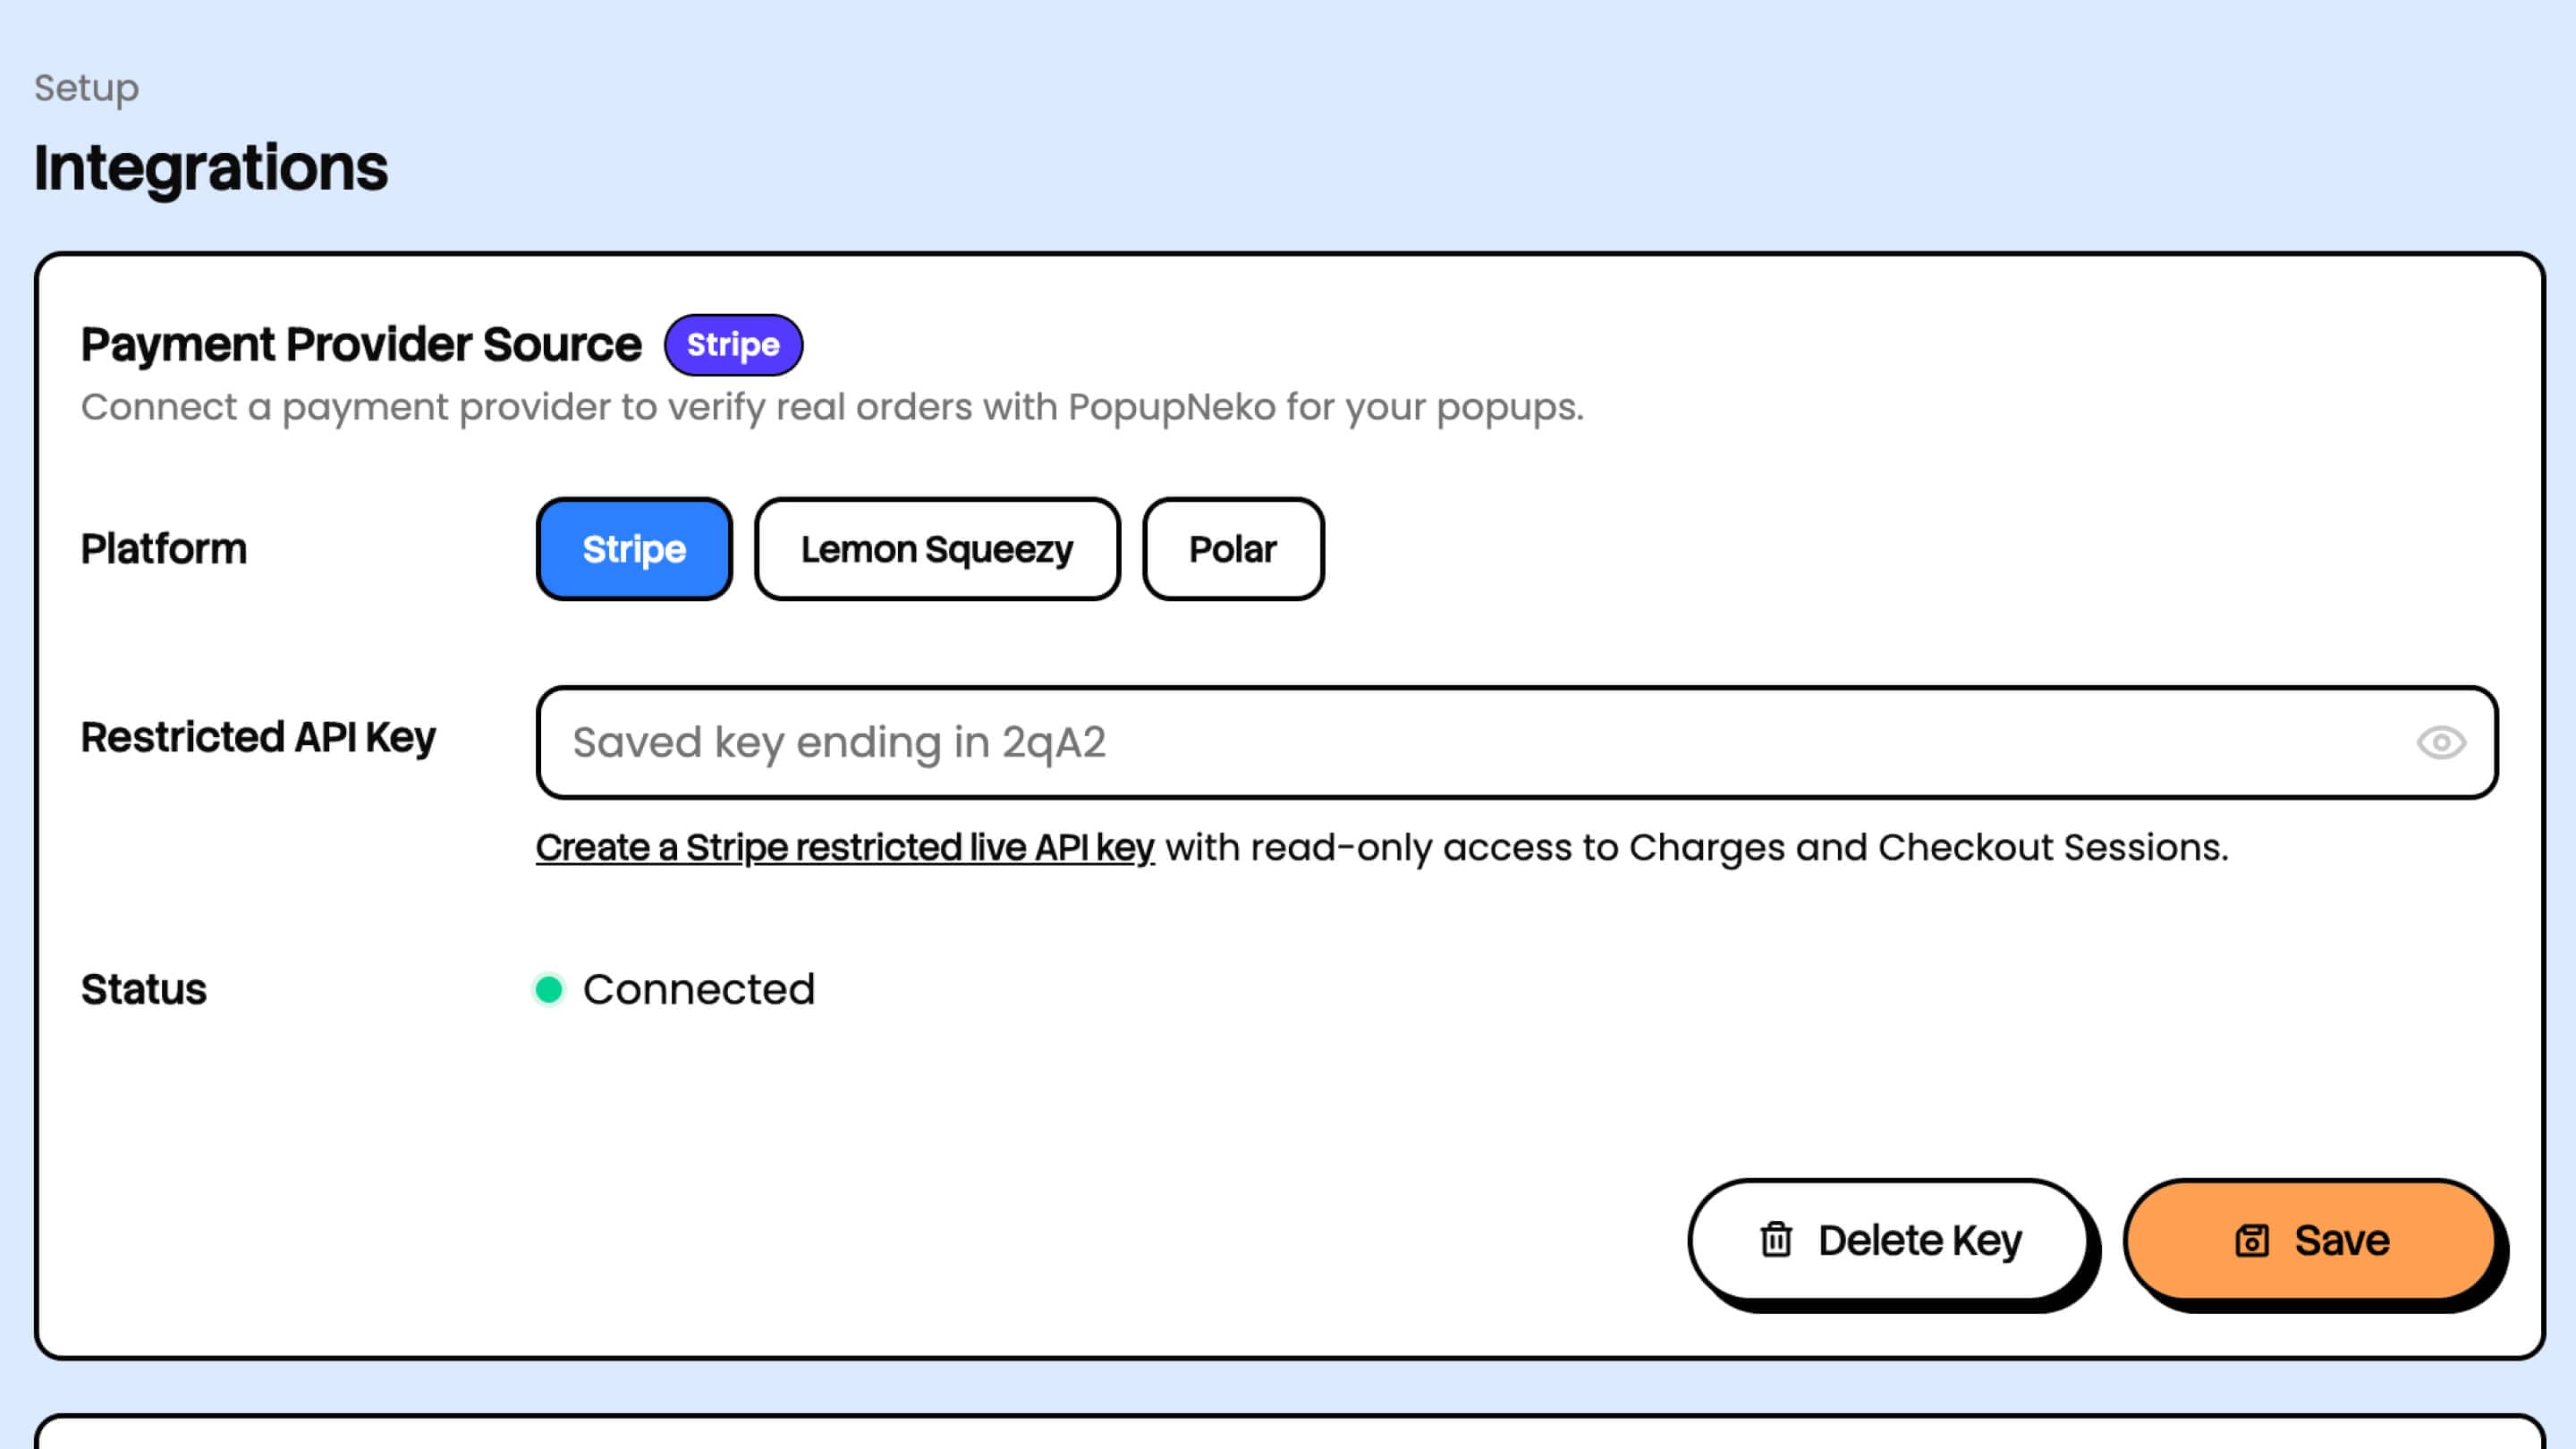
Create a restricted live API key in Stripe with read access to Charges and Checkout Sessions. PopupNeko validates that restricted key before saving the connection.
The key is encrypted on the server. It is not included in the small script installed on your website, and visitors never receive it. The restricted permissions also mean PopupNeko cannot create charges, issue refunds, or edit subscriptions.
Follow the complete Stripe connection guide for the current permission and setup details.
Choose what visitors will see
Once Stripe is connected, configure the event feed before publishing it.
- Open Products and sync the active Stripe products you want PopupNeko to recognize.
- Adjust any customer-facing product names, product links, or images that should appear in notifications.
- Open Events, enable Sales, and choose how recent an event must be.
- Preview real events to confirm that the expected purchases are eligible.
- Save the event settings.
Product settings help each popup feel useful rather than generic. A clear product name tells visitors what other people are choosing, while an appropriate product link lets an interested visitor move toward that same offer.
Protect customer privacy
A useful purchase notification does not need a customer name, email address, card information, or exact billing address. PopupNeko sends only sanitized display data to the public popup script, such as the product, activity type, event time, data source, and an approximate city or country when suitable location information is available.
Location is never invented. If Stripe does not provide a usable city, PopupNeko can show the country when country display is enabled or omit location text according to your content settings.
Review the Privacy Policy for more detail about how PopupNeko handles connected account and customer data.
Install the popup on your website
After the Stripe feed looks right, copy the project installation script from Install Script and add it to your website once. The exact placement depends on the site platform, so use the relevant installation guide for HTML, React, Next.js, Vue, Nuxt, Angular, WordPress, Framer, or Wix.
The installation script identifies the PopupNeko project. It does not contain your Stripe key. When an eligible visitor opens an allowed page, the script retrieves the sanitized popup configuration and activity needed for display.
Use page targeting to choose where purchase activity appears. High-intent pages such as a homepage, product page, pricing page, or campaign landing page are often the most relevant places to reinforce buying confidence.
Verify the result
Test the production website after installation rather than relying only on the dashboard preview. Check that:
- The project and Sales event type are enabled.
- The installation script is detected on the correct domain.
- The current page matches the saved page-targeting rules.
- At least one supported purchase falls inside the selected age window.
- The popup timing and position do not cover important navigation or checkout controls.
Each verified source link can lead visitors to the public PopupNeko profile for the merchant, where they can confirm the website and connected source. That extra verification is what separates sourced social proof from a notification anyone could manually invent.
If you want to tune presentation and placement after the data connection is working, continue with How to Add Stripe Sales Notifications to Your Website. You can also see the complete PopupNeko Stripe integration or start a free trial.
