
Getting started
Create your project, connect a verified source, and publish your first popup.
On this page
PopupNeko turns verified purchases, new subscriptions, and reviews into social proof notifications on your website. Connect with a data provider source that already has real activity, then choose how and where your popups should appear.
1/ Create your first project
Open My Dashboard and create a project for your website. Add your site name and production domain, such as example.com. Check the project name and domain before saving to ensure your installation belongs to the right site.
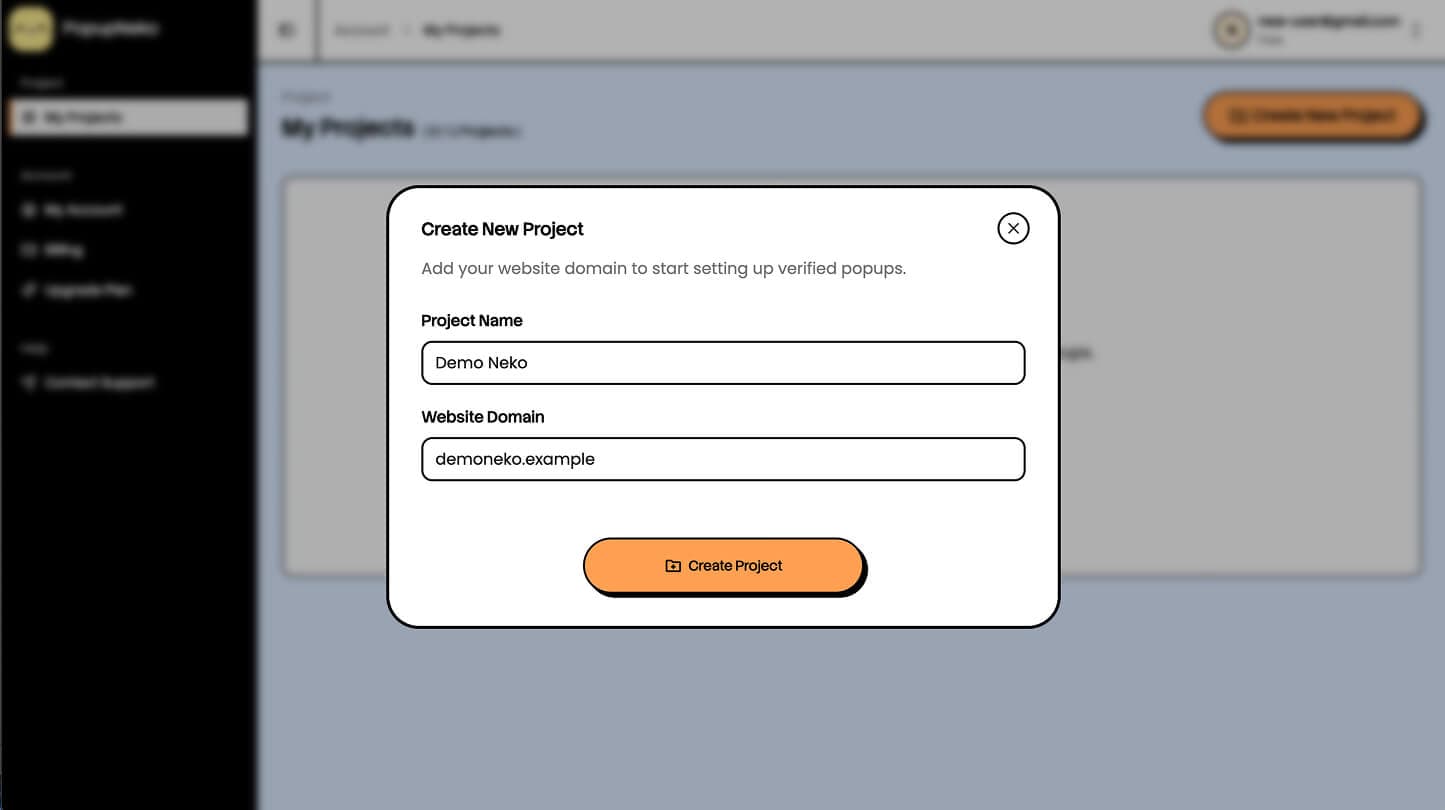
You can connect integrations, customize popups, and preview your configuration before starting a subscription. A trial or active paid access is required to enable live popups, copy the live install script, and verify installation. See Billing for trial eligibility and plan limits.
2/ Connect a verified source
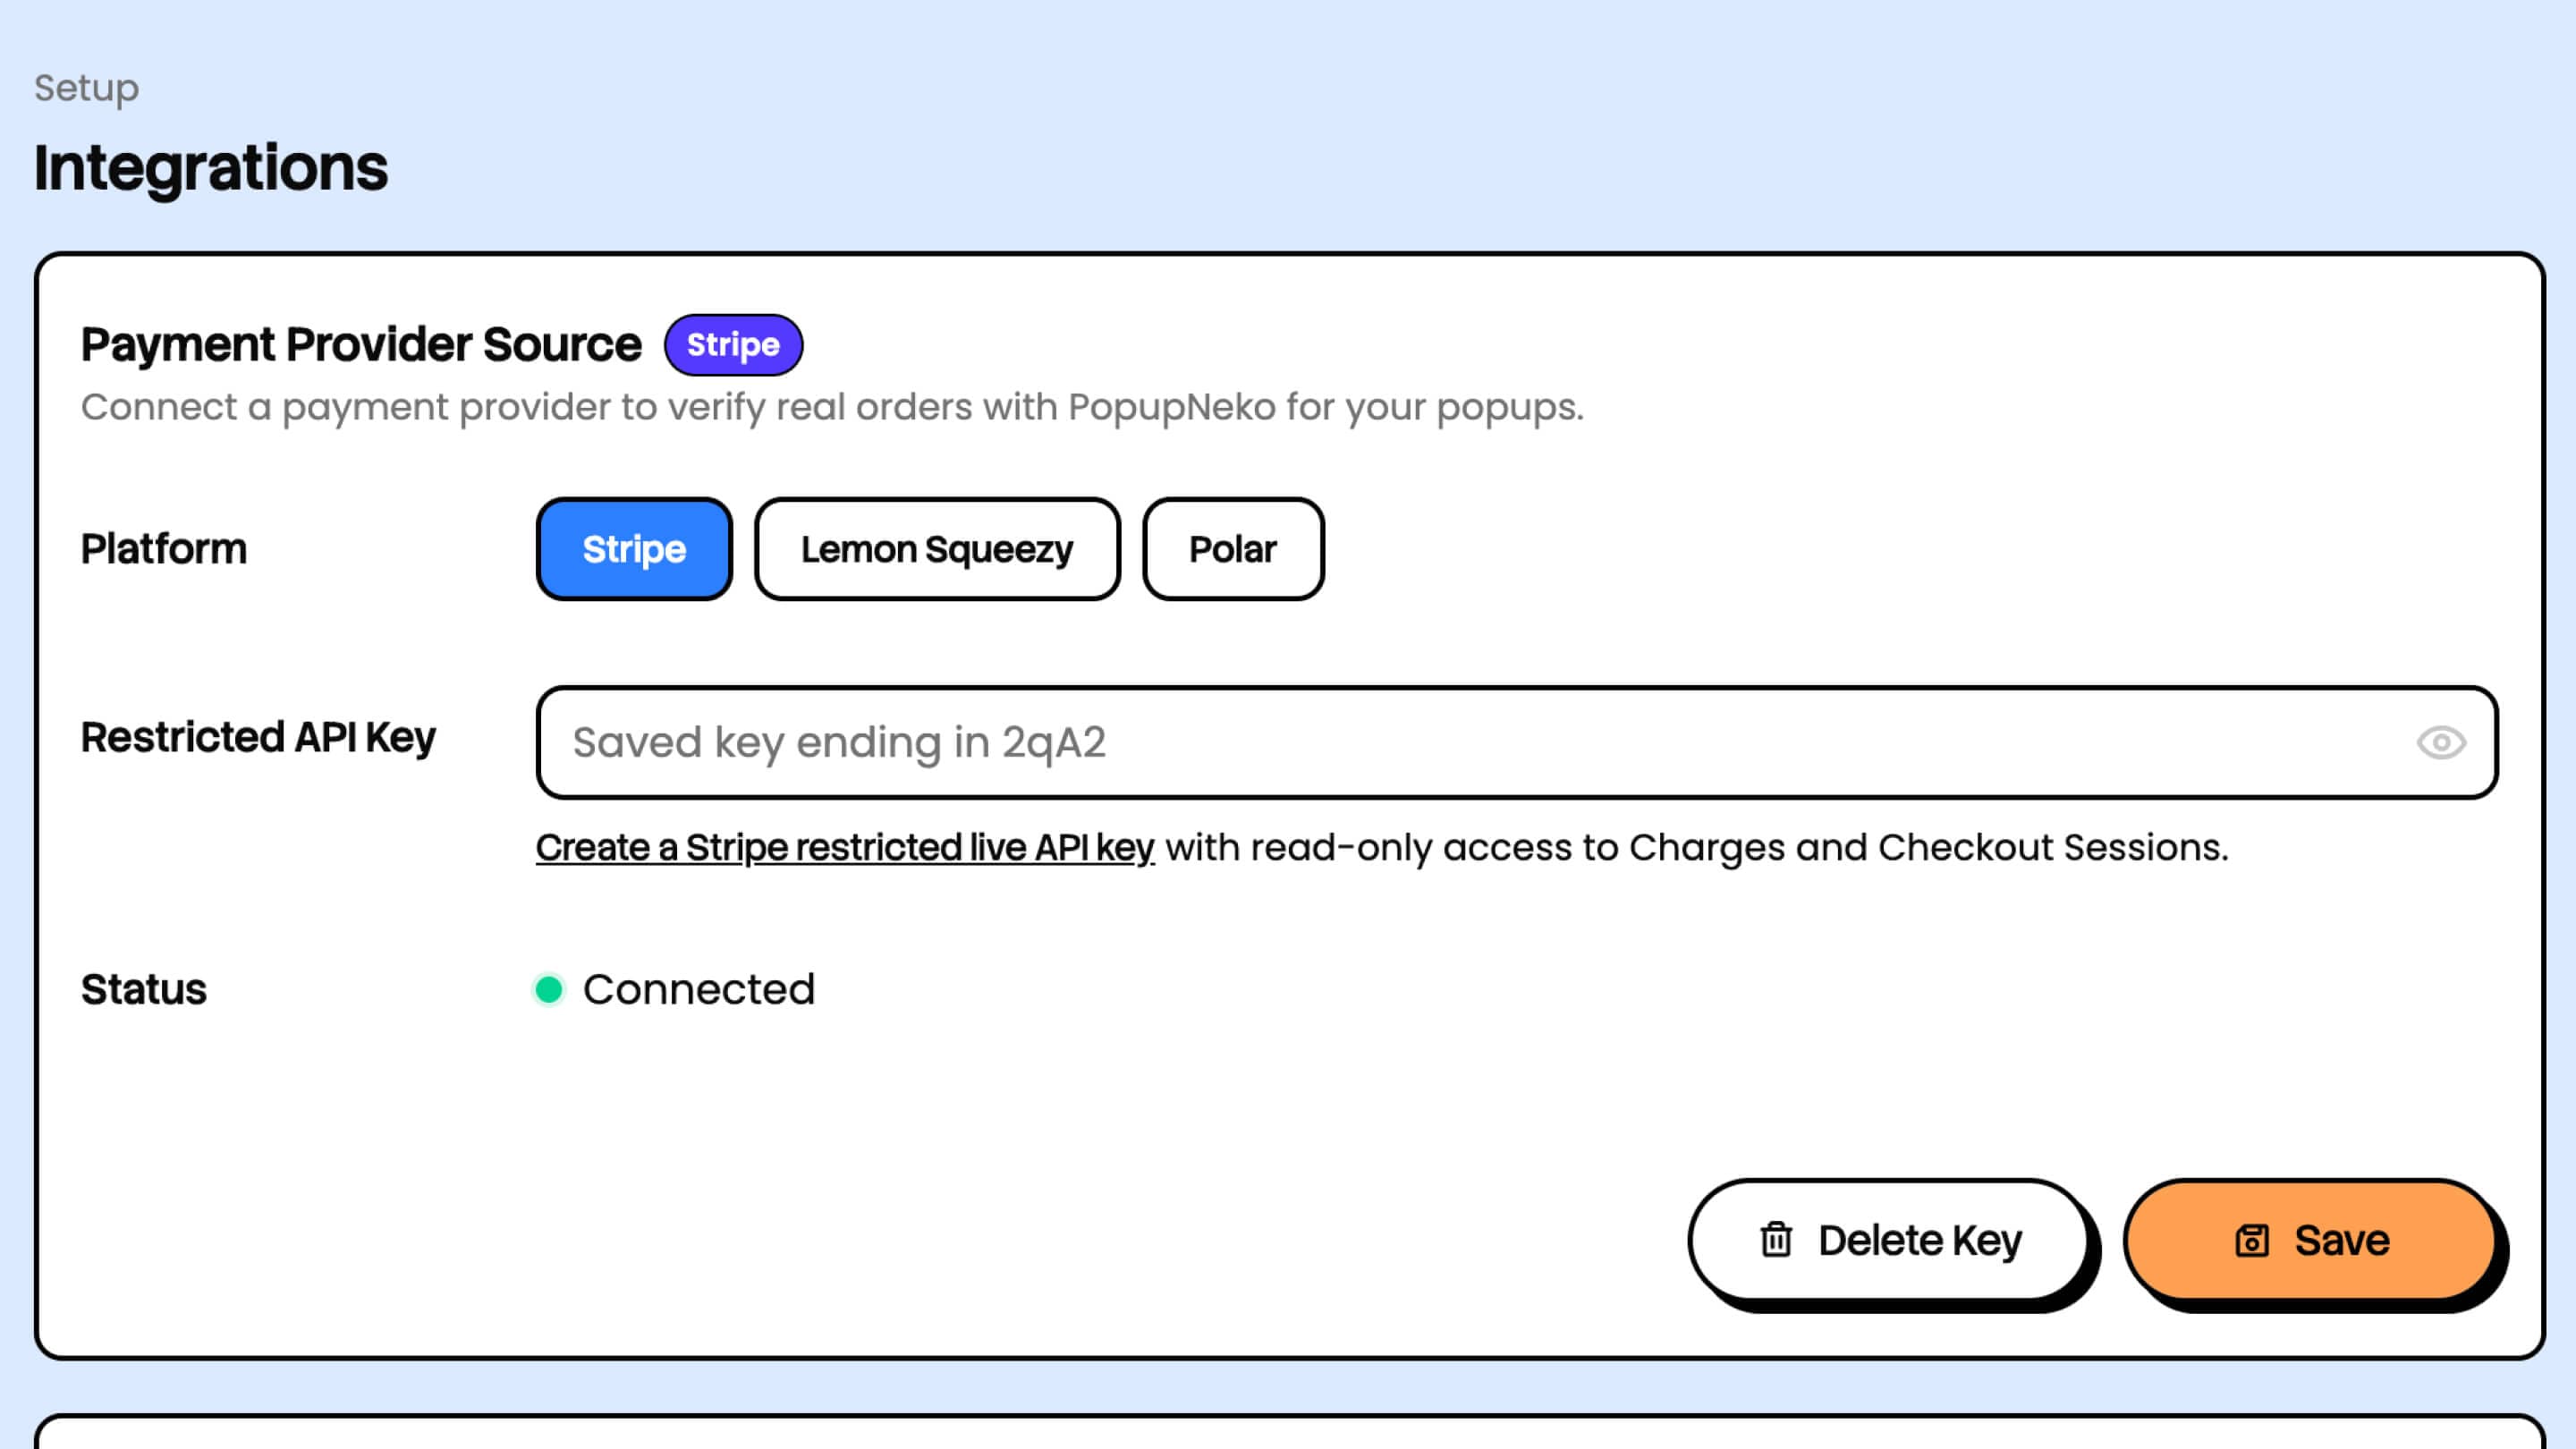
Open Integrations in your project dashboard. Choose a payment provider, such as Stripe, Lemon Squeezy, or Polar, to display recent purchases or new subscriptions. You can connect one payment provider per project. Save and verify your connection. The Connected status confirms the connection.
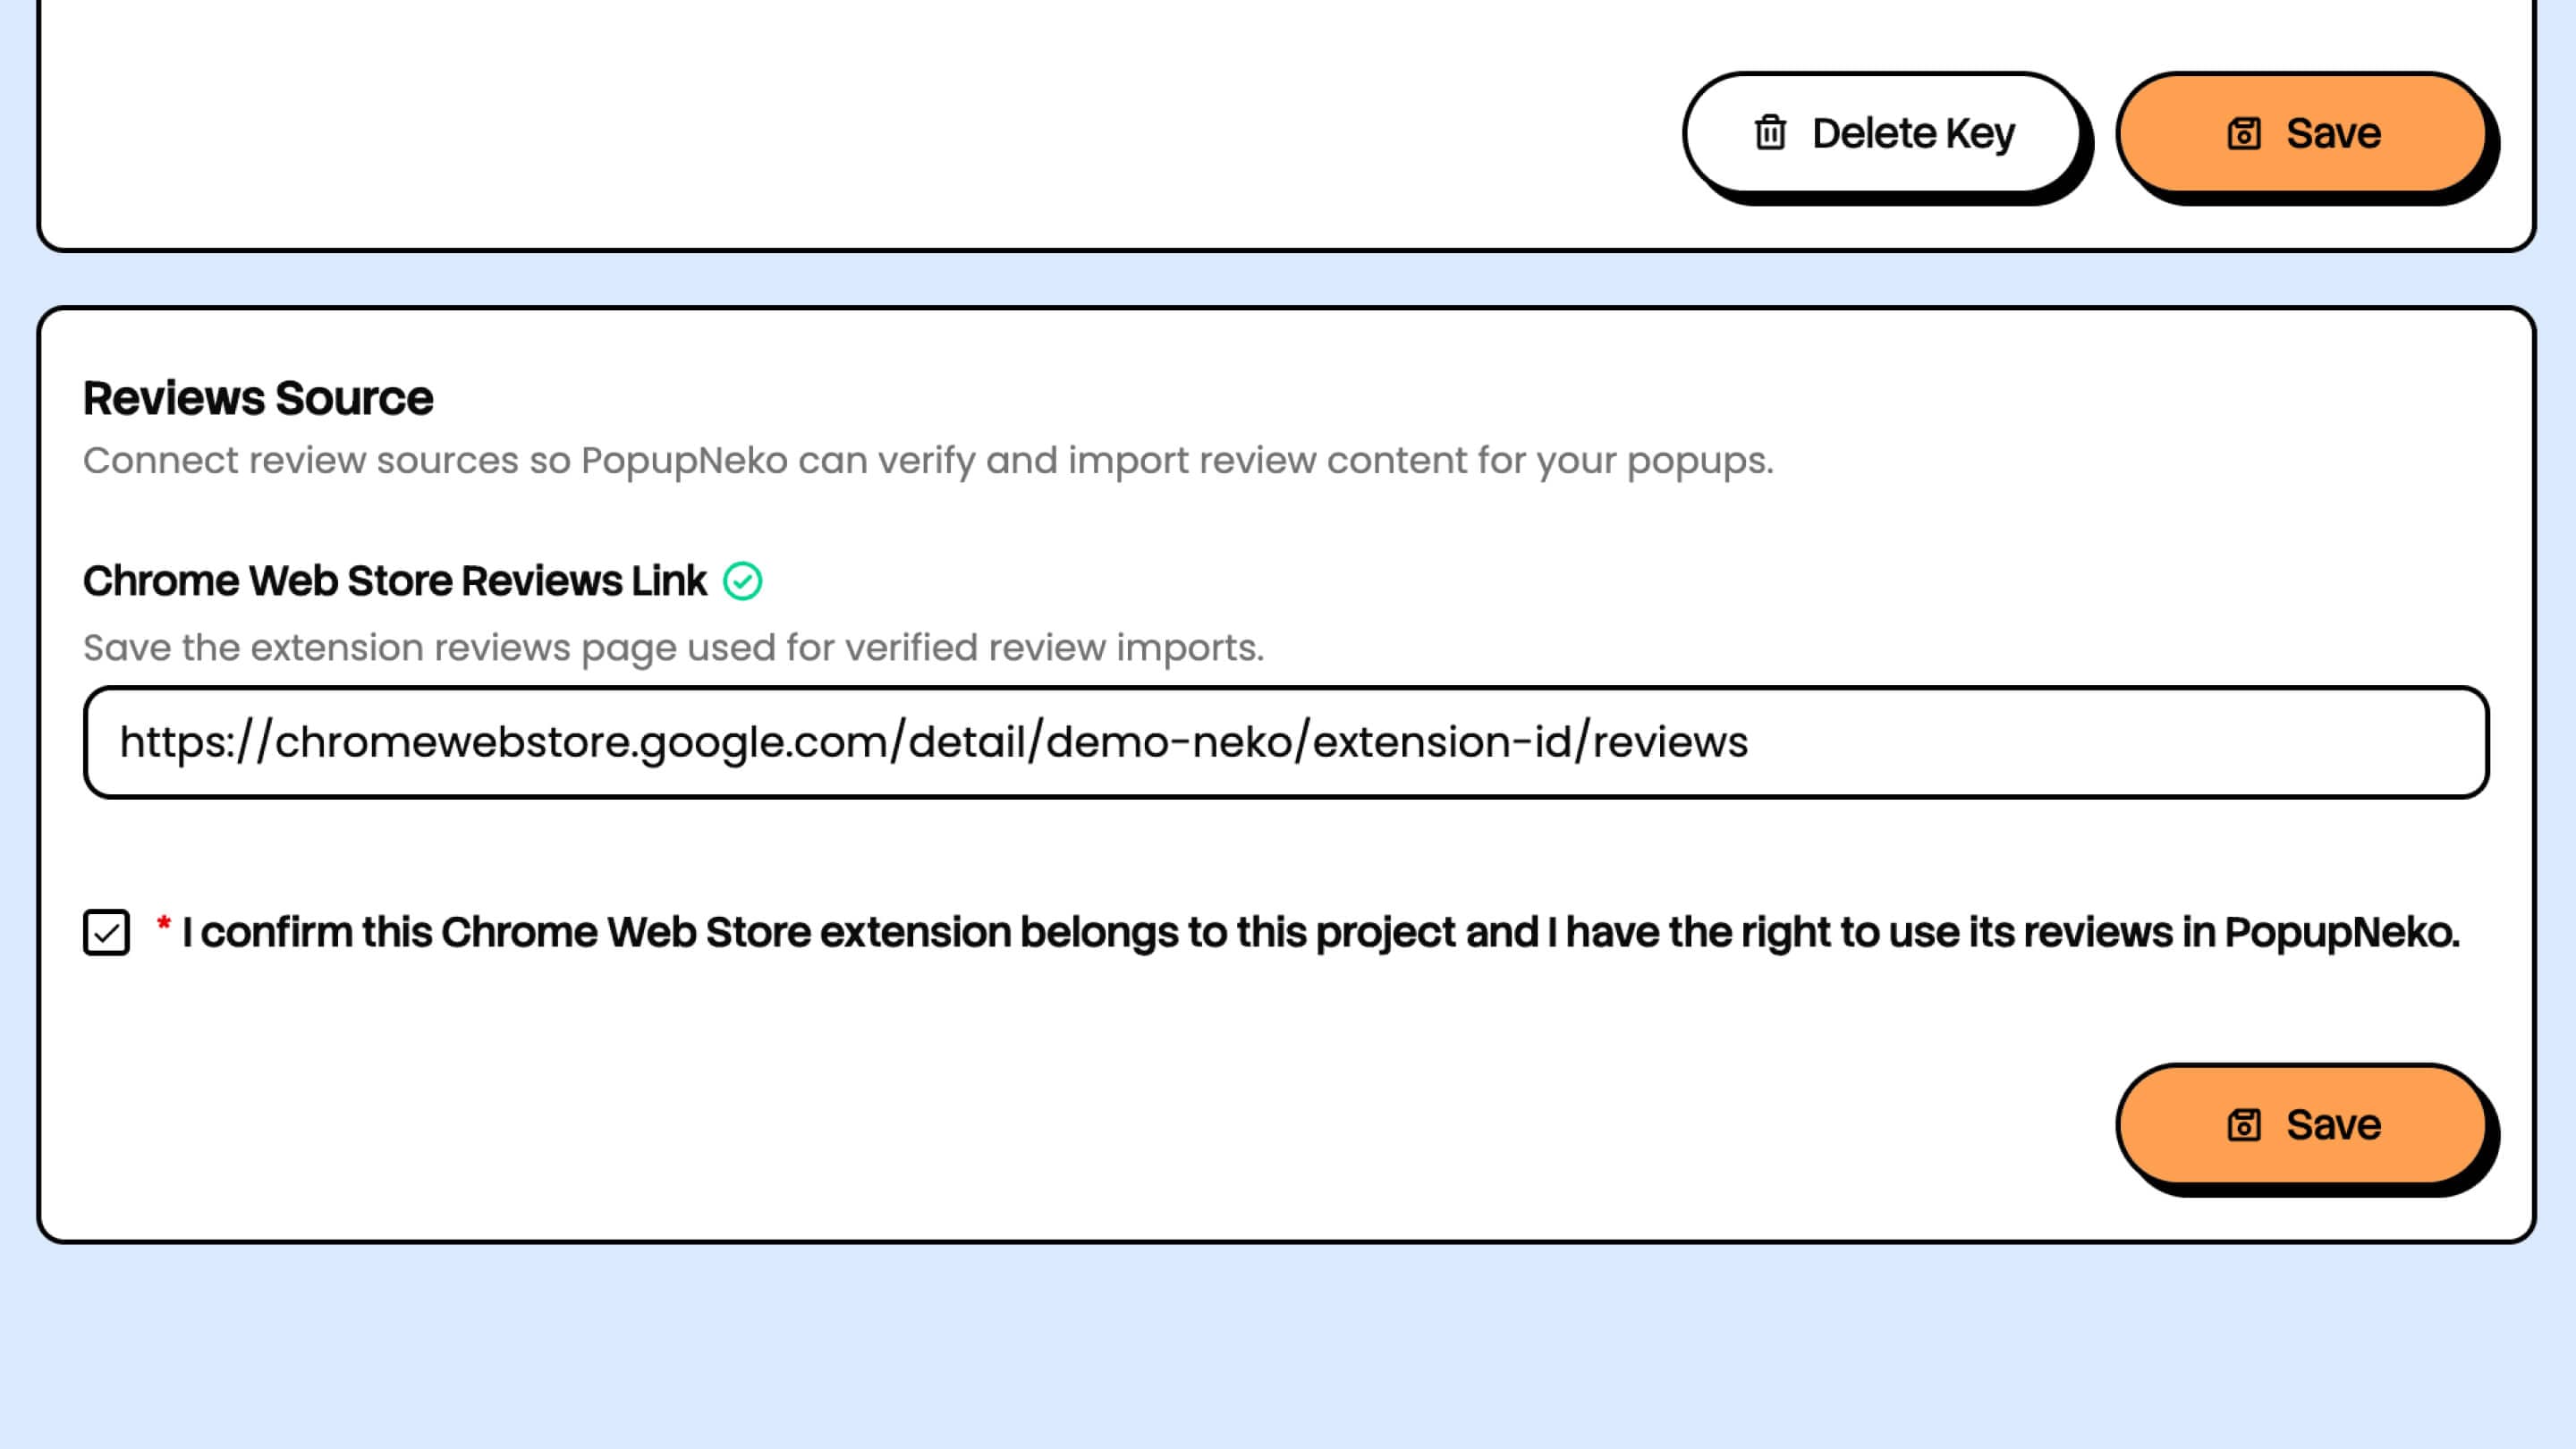
To display reviews, connect a review source, such as your Chrome Web Store listing, and confirm ownership. Connecting a listing does not automatically select reviews for display. You review and select each review first, helping prevent irrelevant or promotional content from appearing in your popups.
⚠️ PopupNeko uses activity from verified sources only. You cannot create fictional sales or fabricate customer reviews.
3/ Customize your popup
Open Customize to adjust your popup theme, behavior, and content. The dashboard preview updates as you edit; Save Changes publishes your draft.
Use Events to choose which event types appear, how recent payment activity must be, and the order of your popups. Use Products to sync your payment provider catalog and edit displayed product names, images, and links. Use Reviews to select verified reviews and their excerpts.
New projects by default use Recommended page targeting: popups appear on / and /pricing. Change Page targeting on the Install Script page if you want other pages.
4/ Install PopupNeko
Open Install Script and copy your project's script. Add it once to the site's global HTML <head> or shared layout, keeping your own project ID.
The placeholder below is an example. Use the ID from your dashboard. No separate stylesheet is needed.
<script
  defer
  src="https://popupneko.com/script/popupneko.js"
  data-project-id="YOUR_PROJECT_ID"
></script>
Use the installation guide for your website platform if needed.
Publish the change and visit a page where the script is enabled on your production site. Your popups should now appear as configured 🎉
Verify the installation
PopupNeko attempts a homepage check on the first unchecked production installation load. On Install Script, you can also enter a production page URL and choose Verify Connection. The checker looks for the script URL and project ID in the HTML returned by that page.
Once your enabled project has live access, a detected installation, and a qualifying connected source, its verified profile becomes available. Your popups can then link to the profile so visitors can verify their source.
If popups do not appear, follow Troubleshooting or contact us for help.